|
Inventory

This hint card explains you how to edit an inventory report. You may proceed with the inventory at any time in the current year so that you can visualize the value of the stock and perform an inventory control once a year on order to ensure the conformity between the theoretical quantity in the items file and physical quantity in the store.
Inventory report
The inventory report allows you in a few clicks to obtain at any time and within a few seconds a complete and detailed inventory.
A wizard has been designed to assist you in selection of an inventory. To launch it, choose the inventory from the stock menu :
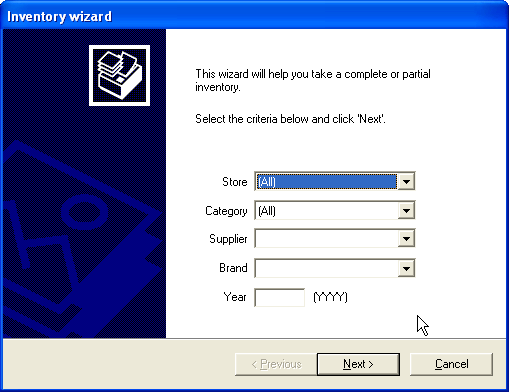
You may print only part of the inventory by specifying a category, a supplier, a brand or a year (you may specify several criteria).
E.g.: to print the frames inventory of supplier Luxottica, you need to select the Frames row in the list of categories and supplier Luxottica in the list of suppliers. You can even restrict the selection further by selecting a brand or by specifying the year of purchase.
If no criterion is specified, the entire inventory will be displayed.
Click Next to access the windows in which you will be able to fine-tune the content and presentation of the inventory:
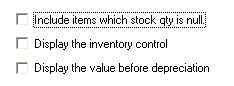
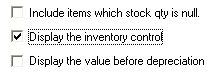
Check the boxes corresponding to the desired options :
The first option allows you to include the references of items present in the stock file - but whose quantity in stock is zero - in the inventory.
The second option allows you to display the column used as inventory control (see section “Inventory Control” for more information).
The third option allows you to visualize the items' value before depreciation.
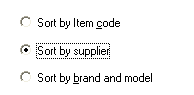
In the next window, you can define the inventory's sorting option: by item code, by supplier or by brand and model. Simply click on the desired option
Now, click the Finish button to display the selected inventory. The inventory list, which is then displayed, can easily be manipulated, just like a typical file.
You may resize columns, change their colours or names, sort the different cards, and of course print the list.
As for the main files, the size of the printed columns is proportional to that of columns displayed on the screen. It is recommended to use the Print preview button to get an idea of the output before actually launching the print operation.
Note: The content of the list can also be exported so as to be analyzed by others softwares. For more information on data export, see chapter “Exporting a query result”.
Inventory control
The principle underlying inventory control is as follows: for each item found in the store, a code and physical quantity are entered. A list of "controlled" quantities is then created and compared to the list of theoretical quantities found in the Items file.
Following the comparison, the software automatically identifies any discrepancies found between the two lists. All you have to do is look for the source of the problem: typo, unrecorded sale, theft, broken item, etc.
To do so, select Inventory Control in the Stock menu:
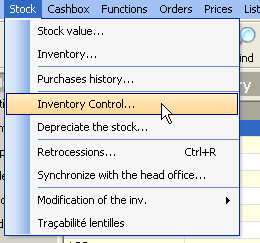
A data entry screen is displayed.
For each stored item, enter the corresponding item code (found on the label). The reference number, price and theoretical quantity in stock appear to the right of the input fields. The stock’s theoretical value is automatically displayed in the "Quantity found" field. Change this information if necessary and then, click the Add to the list button :
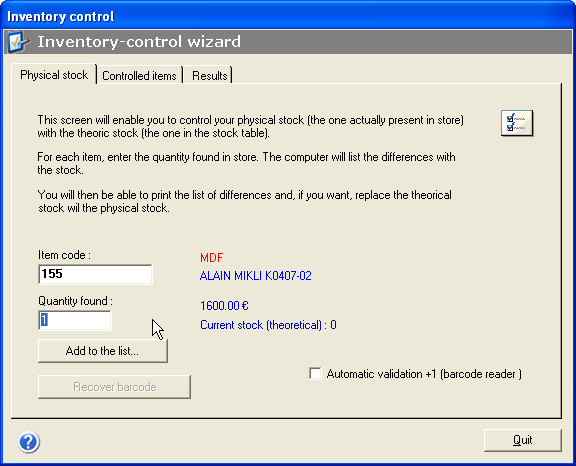
You do not have to create the entire list in one go. The inventory control process can span over several days; in which case, the list is saved in the database and is accessible for completion at any time.
If the "Automatic validation + 1" box is checked, the quantity corresponding to each entered code will be automatically incremented by 1. This is particularly useful if a bar code reader is used to scan all the items individually.
Once the inventory control is over, i.e. once ALL the items in stock are entered, click on the Results tab in which you can perform several actions :
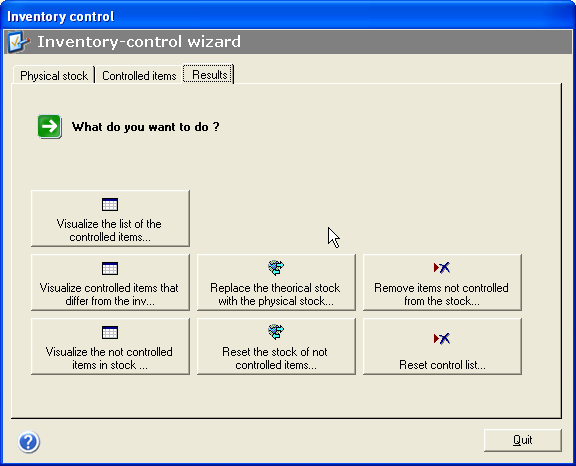
Use the "Visualize controlled items that differ from the inv…" button to display the list of items for which the controlled quantity is different from the theoretical quantity.
You can also view the list of all controlled items or the list of referenced items in stock but not yet controlled.
There are 4 buttons displayed on the right and each affects either the items file or the control list directly. If you click on anyone of them, a dialog box outlining precisely the action that will be performed and requesting confirmation from the user will be displayed.
Note: At this point of the control process, you can view or print the inventory. To do this, start the appropriate Wizard and be sure to check the Display the inventory control box to display the column of noted discrepancies :
| 


