|
 Simulation of a sale
To give you an idea of how WinOptics works, we show you here a couple of screens that simulate the successive steps of a sale. We are going to enter a new visit for an existing patient, John Smith. We will need to retrieve his information record, enter the new sale, print the corresponding documents, and finally order the lenses from the supplier.
Click on the small pictures to enlarge them.
 |
Launch the software
First we need to launch the WinOptics. We do it as we usually on Windows operating systems, by double-clicking the icon on the computer desktop. |
 |
Step 1 - Main screen
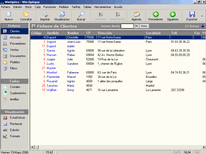
Once the software is launched, you reach the main screen of the application : the database selector. The patient database opens by default : the list of patients appears with all names sorted in alphabetical order.
This list, as any list in the program, can be sorted and customized as you like. |
 |
Step 2 - Find the patient from the list
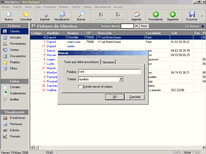
We start by looking for the patient, Mr. John Smith, in the list. We just need to type the first letters of the name, and the computer directly displays the Search screen.
You can simply type a couple of letters, and the program will show the corresponding names in the list.
It is posible to carry out a search from any criteria (address, telephone, SSID, etc.) |
 |
Step 3 - Descriptive sheet
When the patient is found, we open his record. What we call his record is in fact a descriptive sheet that gives details such as his address, contact numbers, and more.
We carry out a quick check whether all the data are still valid since John Smith's last visit to the store. It happens that he changed his phone number, so we have to replace the old number by the new one. |
 |
Step 4 - New visit
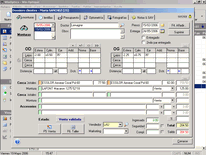
After that, we get into the Optometry record. On this form all patient's visits are recorded. We can see that John Smith already came on November 14, 2002. Let's add now the current visit. The software proposes today's date.
The screen shown here applies to a sale of eyeglasses, but a similar screen would appear for a sale of contact lenses. |
 |
Step 5 - Introduce the data
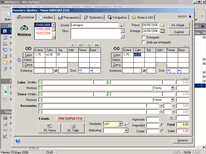
When the new record is created, we just need to complete the fields with data. To save time, it is possible to take information from the last visit and modify it.
In this example, we are going to introduce new diopters and select the corresponding lenses. |
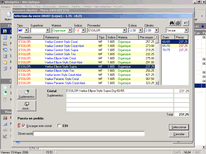 |
Step 6 - Select the lenses
In order to select the lenses, the computer proposes all possible combinations on the basis of your catalog of lenses and the diopters of the patient. You can carry out searches on a wide variety of criteria (type, material, INDICE, supplier, etc.) and the program will automatically suggest the lenses and corresponding prices.
The current catalogs for main suppliers are available in the "Updates" section of WinOptics' internet site. |
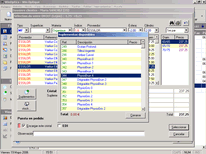 |
Step 7 - Choose the lens processing
Once the lens is selected (here an Asphor 1.5 from BBGR), you can decide to apply to it special processing and treatment. Here again the software proposes all possible combinations and calculates the final price. |
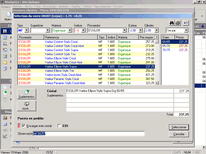 |
Step 8 - Order
We have now defined the lens with its supplements. Since we decide to order it, we have to tick the corresponding cell. The computer displays the supplier's reference for the lens and adds it to the on-order list. |
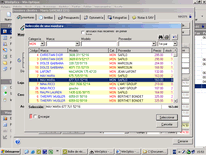 |
Step 9 - Select the frame
We still have to select the frame. Here we pick it up from our inventory list, but in general we would just need to type its reference code (printed by the software on the frame's label) and the program would automatically retrieve the frame's information. |
 |
Step 10 - Summary of the sale
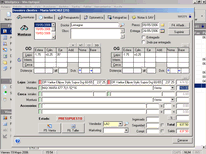
We are nearly done : the record is almost completely filled. We already know the total amount of the sale : US$317.98.
It is possible to add other elements, such as a case, or lens cleaning products from the "Accessories" cells.
The items that will be ordered are signalled in red. At this stage it is also possible to grant John Smith a discount on an item or the other. |
 |
Step 11 - Quote
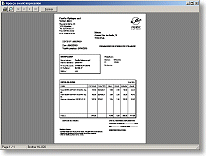
We can then print a quote for John Smith. |
 |
Step 12 - Workshop sheet
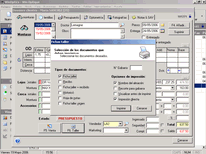
Now we print the workshop sheet as well as a copy for the patient. Various document templates are installed by default in WinOptics. |
 |
Step 13 - Print out
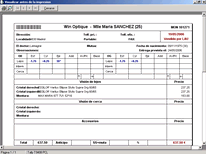
We want to preview on screen before printing the documents. The workshop sheet will be printed in half page format. to make it easier to handle. |
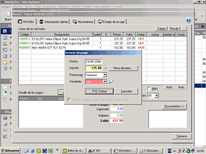 |
Step 14 - Payment collection
We must not forget to collect the payment from John Smith ! In the present case, we will only cash a downpayment of US$50. The patient will pay the balance when he comes back to pick-up his eyeglasses.
At this stage the items sold are already taken out from the inventory. The sales database and the cashbox history are also updated. |
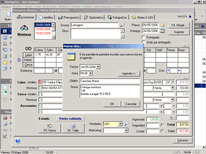 |
Step 15 - Make an appointment
Now let's get back to the visit record. The sale is done, and we make an appointment with our patient to deliver the glasses. The date is added into the agenda. |
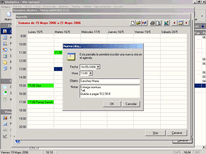 |
Step 16 - View the agenda
We can check-out the agenda at any time and easily and efficiently plan appointments. |
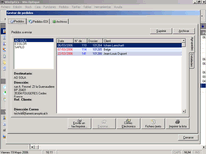 |
Step 17 - Select supplier orders
At the end of the day, we print out or fax the various order slips to suppliers.
We go back to the order we made earlier for John Smith's glasses. |
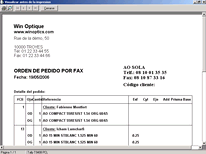 |
Step 18 - Order by Fax
The order slip is automatically created. If the computer is equiped with a fax/modem, it can be directly sent to the supplier.
All sent orders can be archieved and consulted later. |
We are done with this little overview ! Do you want to try it by yourself ? You just need to download and install the
demo version available for free !


|


