|
Configuration and printing labels

This hint card presents the steps allow you de manage your labels for all stock items. From the adjusting format to the printing operation.
Introduction
WinOptics enables you to print labels for all stock items. Each printed label will contain the item code, its price and possibly personalized reference, which can be entered in the item’s card. It is of course possible to adjust the label format depending on the printer and the media used.
Settings
Prior to first use, it is important to adjust the labels format.
To do so, select the Configuration labels option in the File menu:
The settings windows for the labels format is then displayed :
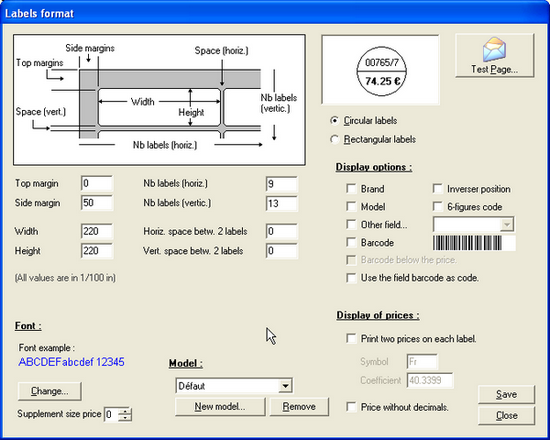
Specify whether the labels used are round or rectangular, and specify the labels size by entering the requested dimension (in tenth of mm).
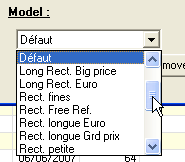
To set the labels format, select a model from the list of predefined format :
:
The chosen model may be used as is or it may be modified. In the latter case, click the New model button to rename it, make the necessary changes and remember to click on Save.
Different types of options may be modified: the barcode edition, the double price display, the price's size, the print out of different fields, etc
Once the format has been properly set, the program saves its settings and they are applied to each new label-editing request. It is no longer necessary to go back to this menu, except when changing the label's type.
Selection
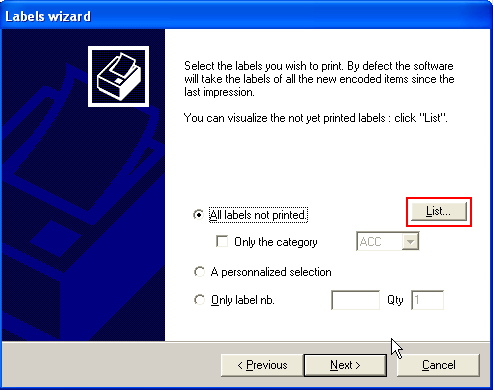
To launch the label-printing wizard, select Label option in the function menu :
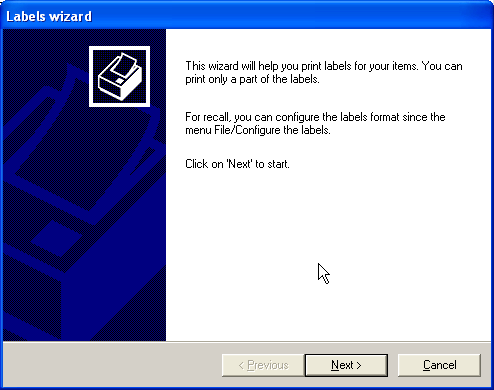
The label-printing Wizard allows you to visualize all the labels that have not been printed before launching the print operation. To do so, click on the List button in the Wizard :
The list of unprinted labels is displayed:
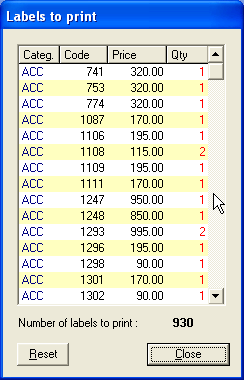
This list is automatically updated whenever an item is entered in the stock file. For each new item entered, the number of labels corresponding to the quantity available in stock will be added to the print list.
It can be deleted by pressing the Reset button. Clicking the Close button will take you back to the Wizard's window.
Select the label that you wish to print :
"All the unprinted labels" : You may restrict the unprinted labels to a category of items (in which case the proposed list displayed by clicking the List button will take it into account).
"Une sélection
personnalisée" : You may also make a personalized selection among stock items by accessing the sorting criteria for the supplier, the brand and the items category.
"Uniquement l'étiquette
N°" : Finally, you may edit only one reference by specifying the item's number and the quantity of labels desired.
Printing
Once the label selection has been made, click the Next button to access the window where you will specify the starting point of the print operation :

This point is particularly important when the printing must be performed on a label sheet already in use. You may display a preview by checking the Print preview box before clicking on the Finish button.
Note: It is recommended not to print too many labels at a time so as to minimize the risk of printing errors (especially with the listing paper). It is therefore better to print new labels on a regular basis and use the selection by category so as to reduce their number.
Once the print operation is completed, a dialog box is displayed asking you whether the operation was successful :

Answer Yes if the labels were properly printed and to remove them from the list of labels to
print.
Answer No if the labels were not correctly printed. In that case, the printed labels will be considered as void and will therefore remain in the list of labels to print. Hence, you will be able to print them at a later stage.
| 


