|
Creating a Mailing

This hint card explains all the steps of the mailing operation, from the patients’ selection to the letter printing.
In our example, we use Microsoft Word for the exportation, but you may use an other Text Writer with a mailshot feature.
Selection of clients
A simple example will be used to make explanations clearer. In this example a letter needs to be sent to all patients who celebrate their birthday in the current month.
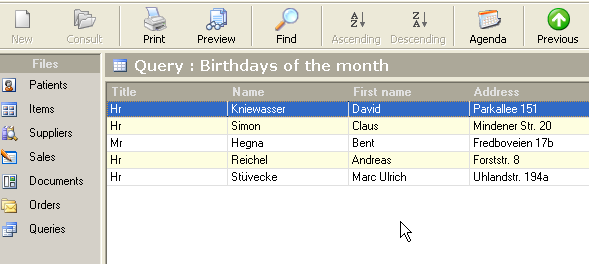
The first step is to use the query system to create a list of patients who meet to these criteria. Select the Queries file from the list of files and look for “Birthdays of the month”.
Obviously, if the criteria do not exist, you can create it by clicking on the New button to launch the wizard queries (see the creating queries card for more details).
Double click on the desired query. The list of all the patients is displayed on the main window. The number of clients is specified in the top right hand corner of the window’s application (number if card) :
Merging data in Microsoft Word
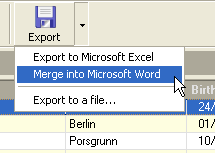
Once patients have been selected, the resulting selection needs to be sent to Microsoft Word in order to create the letter. Select the Merge into Microsoft Word option from the Export menu located on the toolbar :
Then, choose to create a new document and click OK .
Microsoft Word starts (this application must have been, of course, correctly installed on the PC) and a blank document with a link to the data is created.
Note that the layout of the mailing may be different depending on the Windows version used.
You should then start to type the letter. The next step is defining the location of the fields that need to be inserted. To do so, place the cursor on the location where the data should be inserted and click on Insert Word Field in the Microsoft Word toolbar :
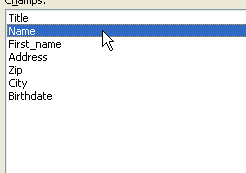
Repeat the step for each field to be inserted.
The address of the patient should appear in the top right corner of the letter and look like this :
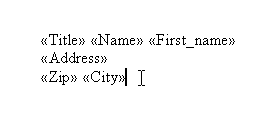
Finish typing the letter and then, save it.
Creating document templates
Once the letter has been created, it can be saved and used as a model for subsequent mailings.
Select the Save as option in Microsoft Word’s File menu. Then, select Word Document as type of file in case this has not already been done; type the name of the model (e.g. birthday letter.doc) and save it in the desired directory. The best thing to do is to choose the "C :\program.files\winoptics\documents" directory that was created during the installation of WinOptics.

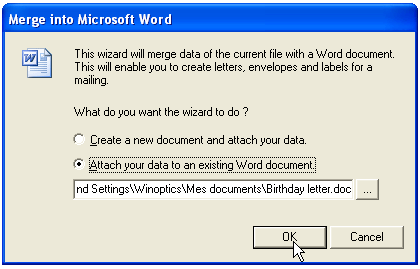
To use this model again for a subsequent mailing operation, select the Attach your data to an existing Word document option when you export the data to Word and specify the name of the file to be used :
Printing letters
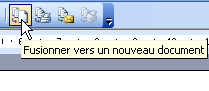
To launch the creation of documents (the letters that will be sent to patients), you just need to click on the merge into new a new document in Microsoft Word :
A document is then created and it contains a personalized letter for each selected patient.
Now simply launch the printing .
| 


